Pinning Element Details and Images
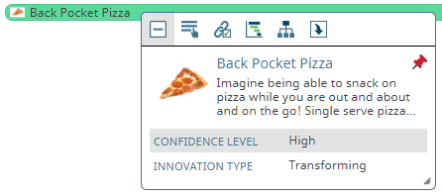
Views can have many elements and screen size can limit the amount of an element's name that displays within the view, and names may not provide enough information to fully identify the element's purpose within a plan. Using the popup that displays when you hover over an element, you can display the element's full name, description, and metrics indicated as favorites within a view.

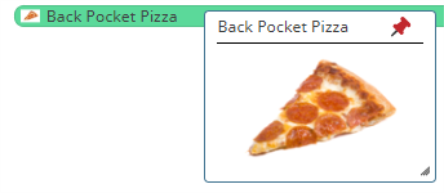
In addition, you can pin an element's expanded image to the view:

Pinned popups save with the view, and are part of downloaded view images, providing additional context for the elements within a view.
To pin an element's details or image:
- From the Planning menu, select Planning Board.
- Create a view or display a saved view.
- Do one of the following:
- Hover over the element's name and click
 to display the full project name and description.
 - Click the thumbnail image to display it in a popup.
- Do any of the following with the popup:
- Click
 in the popup to pin it to the view.
 - Drag the lower right corner of the popup to re-size, as needed.
- Click the popup to drag and drop it to a new location in the view.
- To save the pinned popup with the view, including its location and size, click Save in the top right corner of the view to save your changes.
|
Notes:
|
- Combining Gantt Views into Composite Views
- Creating Gantt Planning Views
- Displaying Gantt Views in Presentation Mode
- Displaying Milestone and Gate Dates in Gantt Planning Views
- Displaying Phases in Gantt Planning Views
- Displaying Relationships Between Planning Elements
- Highlighting Dates in Gantt Planning Views
- Modifying Gate Dates in Gantt Planning Views
- Pinning Element Details and Images
- Resolving Relationship Conflicts Between Planning Elements
- Using Element Legends in Planning Views
- Viewing Child Elements in Hierarchy Gantt Planning Views
- Working with Elements in Gantt Planning Views